Your Ultimate Guide to DIY Halloween Nail Art: Spooky, Fun, and Easy!
Halloween is just around the corner, and honestly, what better way to get in the spooky spirit than by transforming your nails into tiny, creepy works of art? Halloween nail art can be anything from cute pumpkins to downright terrifying dripping blood effects, and the best part? You don’t need to be a nail artist or spend hours in a salon to pull it off. Grab a few nail polish colors, maybe some tiny brushes, and let’s dive into how you can nail (pun intended!) your Halloween look right at home.
Halloween Nail Colors That Are Totally Essential
Let’s start with the basics. Halloween colors are iconic, right? They scream spooky season as soon as you see them. Here are the top colors you’ll want to pick up:
- Black – This is an absolute must. Not only does it make a great base, but it’s perfect for little spooky silhouettes or for layering with glitter.
- Orange – Classic pumpkin vibes! This color pops and immediately brings that Halloween flair.
- White – You’ll need white for ghosts, spider webs, and also for outlining any darker designs.
- Purple – Think witchy vibes, potions, or even a haunted, misty backdrop.
- Green – Great for slimy drips, Frankenstein-inspired art, or just to add a little eerie feeling to your nails.
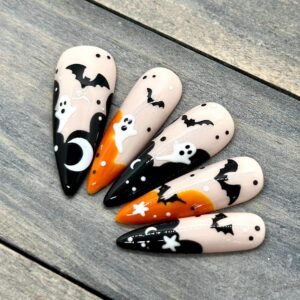
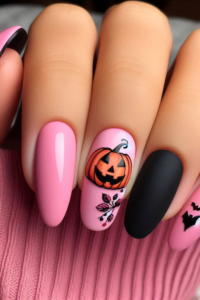
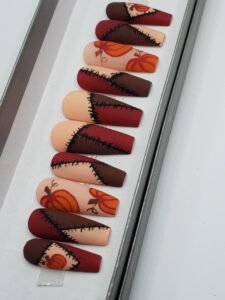
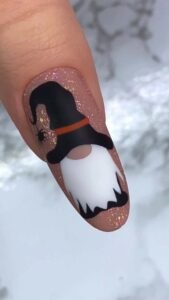
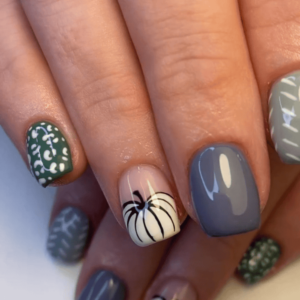
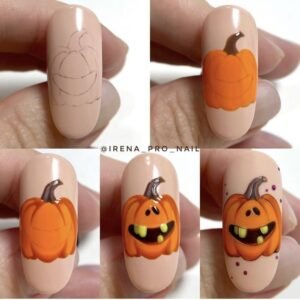
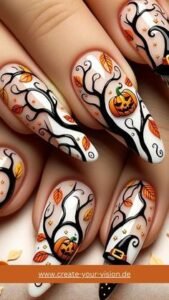
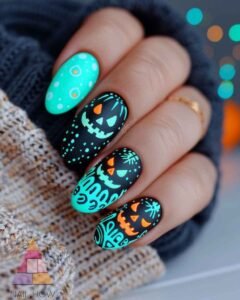
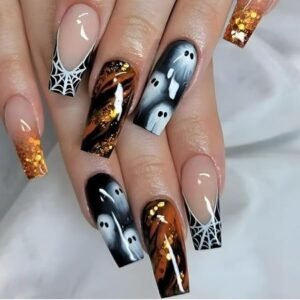
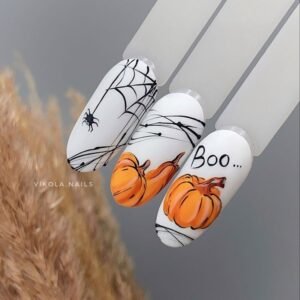
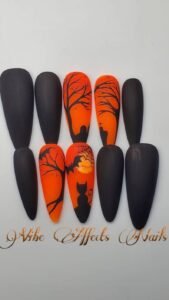
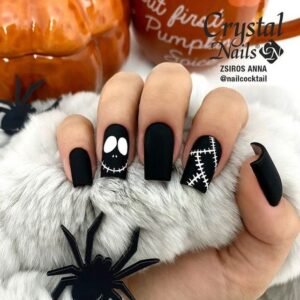
Combine a few of these, or just go wild and use them all!
Master These 5 Basic Nail Designs First
If you’re newer to nail art or just want to keep it low-key, these five basic designs are super helpful to get down first. Not only are they easy to create, but they’re also super versatile for adding your Halloween twist.
- Polka Dots: The easiest of them all, honestly. You can use a dotting tool, a bobby pin, or even a toothpick. Just dip in your chosen polish and dot away!
- Stripes: Nail tape is your best friend here. Place it on your nails in the design you want, paint over it, then remove the tape for clean, even lines.
- French Tips: Instead of the classic white tips, go for black or bright orange for a fun twist!
- Gradient/Ombré: Grab a sponge, paint two colors on it, and dab onto your nails for a smooth transition. This looks so cool with purple and black or orange and black for Halloween.
- Marble Effect: This one’s actually easier than it sounds. Just dab a few dots of different colors on your nail and swirl them together with a toothpick to get that marbled look.
Once you have these basics down, you can add little Halloween touches and go as spooky or cute as you want!
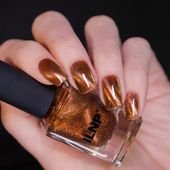
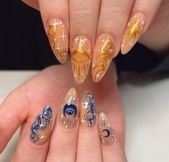
Top Halloween Nail Designs to Try at Home
So, here’s where the fun begins! These designs are super fun to make, and they’ll instantly give you that Halloween look. Let’s break them down.
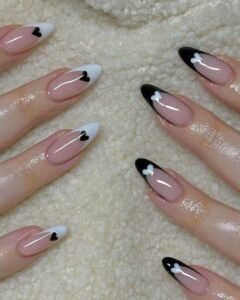
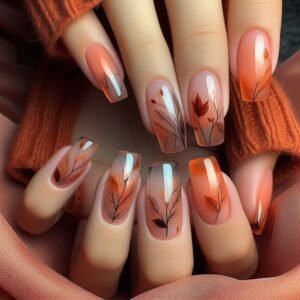
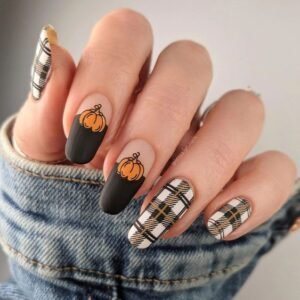
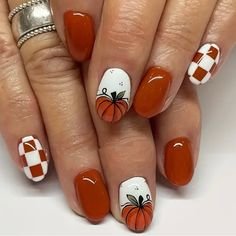
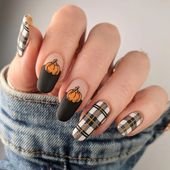
1. Pumpkin Patch Vibes
- Step 1: Paint your nails with an orange base color.
- Step 2: Use a thin black brush or a nail pen to draw curved lines over the orange base to make it look like a pumpkin.
- Step 3: Add small black triangle shapes for eyes and a little jagged mouth to turn your pumpkin into a jack-o’-lantern!
- Step 4: Seal with a top coat so your pumpkin buddies stay put.
This design is cute, classic, and SO Halloween!
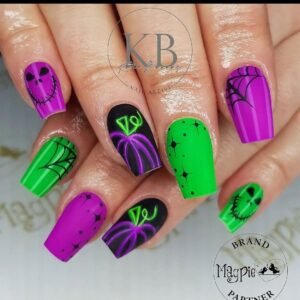
2. Spooky Spider Webs
- Step 1: Start with a black or dark purple base to set a spooky nighttime vibe.
- Step 2: Using white polish, draw a few lines radiating from one corner of your nail.
- Step 3: Connect the lines with small curved lines to make it look like a web.
- Step 4: Add a tiny silver or white dot in the center for a spider, if you’re feeling extra creative.
The spider web design is super easy but gives off an instantly creepy vibe!
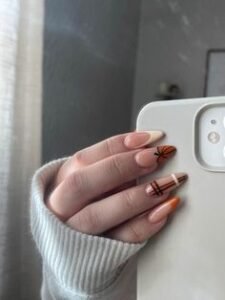
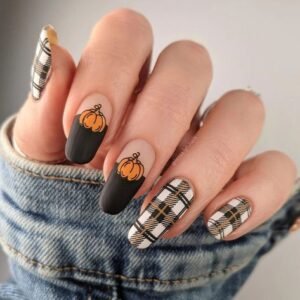
3. Creepy Graveyard Scene
- Step 1: Paint a gradient background using purple and black to mimic a spooky night sky.
- Step 2: Use black polish to draw little tombstones near the tips of your nails.
- Step 3: Add crosses or “RIP” on the tombstones for that graveyard feel.
- Step 4: Top it all off with some eerie trees or branches – these can be as simple as little black squiggles!
This design takes a little patience, but it’s perfect if you’re looking for an art piece on your nails.
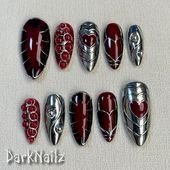
4. Bloody Drip Nails
- Step 1: Start with a nude or pale pink base to resemble skin.
- Step 2: With red polish, make small dots near your cuticles and drag the brush down slightly to create a dripping effect.
- Step 3: Add a little sparkle with a glitter top coat to make the “blood” look fresh and shiny.
- Step 4: Seal everything with a top coat to keep it from chipping.
This look is both creepy and glamorous – perfect for Halloween parties!
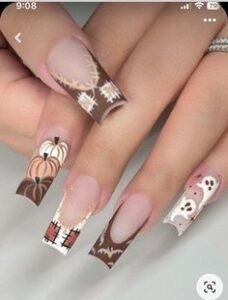
5. Ghostly Tips
- Step 1: Use a clear or very light-colored base to start.
- Step 2: At the tips, paint a white semi-circle or oval shape for the ghost body.
- Step 3: Add little black dots for eyes and a small “O” shape for the mouth.
- Step 4: Add a top coat, and there you have it—cute little ghosts!
This one is quick, easy, and totally adorable.
DIY Fake Nails for Halloween
If you’d rather make your designs on fake nails and then just pop them on when you’re ready, here’s what you need to know!
What You’ll Need
- Fake nails (get the clear or nude ones)
- Nail glue (make sure it’s strong enough for a few days of wear)
- All your usual nail art supplies (polish, brushes, etc.)
How to Create Halloween Fake Nails
- Lay out your fake nails: Make sure they’re all sized to fit your natural nails.
- Create each design on the fake nails: It’s easier to work with fake nails if they’re on a flat surface first.
- Allow them to dry fully: You don’t want any smudges when you apply them.
- Add a top coat: This step is crucial to make the designs last longer.
- Glue them on: Use your nail glue, press firmly, and they should be good to go for a few days.
Creating designs on fake nails gives you the option to wear and remove them as you please!
Final Tips for Halloween Nail Success
- Prep Your Nails: Clean, shape, and buff them for a smooth starting canvas.
- Use the Right Tools: A little dotting tool, nail tape, and a thin brush go a long way in helping you get precise lines and details.
- Practice Makes Perfect: You don’t have to be a pro! Try out your designs on paper or an old set of fake nails first if you’re nervous.
- Top Coat is Key: A good top coat will make everything last longer and gives your designs that professional look.
Halloween nail art is an awesome way to get festive, and you can go as spooky, cute, or glamorous as you like!


